OpenVAS Configuration
OpenVAS Configuration
OpenVAS is the most advanced
Here is the location fo OpenVAS:
Setting up OpenVAS
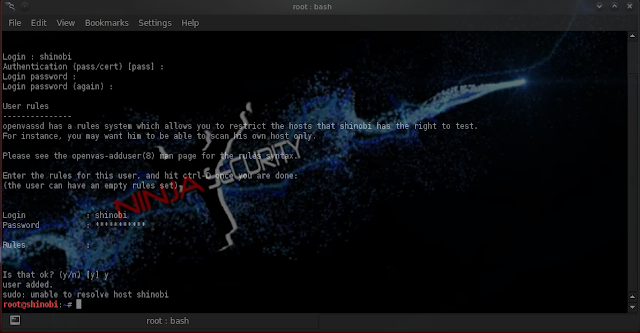
1- Adding a user:
Just follow the graphical menu as shown above and click on "adduser" and follow the instructions.
Easy configuration as you see :-)
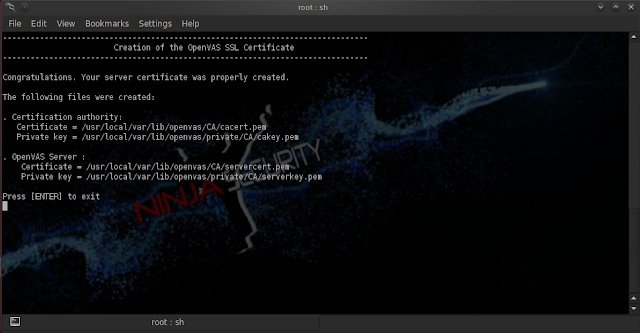
2- Making the certificate :
From the same menu click on Openvas mkcert and follow instructions.
From the same menu click on Openvas mkcert and follow instructions.
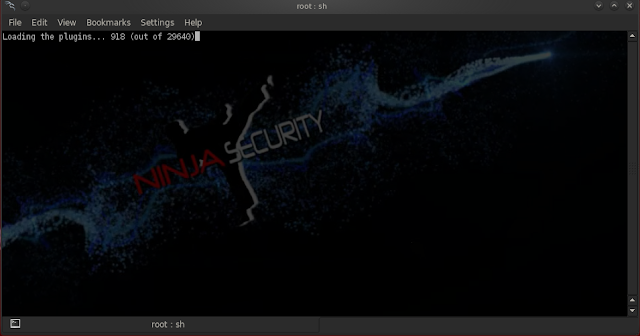
3- Syncing the NVT's:
In this step we are going to update the OpenVAS repository to get the latest tools andplugins used to identify vulnerabilities. If you want to be up to date, do this regularly.
In this step we are going to update the OpenVAS repository to get the latest tools and
So select OpenVAS NVT Sync from the menu:
4- Starting the scanner:
Again, from the same graphical menu, click on "start OpenVAS scanner"
Again, from the same graphical menu, click on "start OpenVAS scanner"
5- Setup OpenVAS manager:
We need here to generate a certificate for OpenVAS manager by running the following command:
root@shinobi:~# openvas-mkcert-client -n om -i
Now we need to rebuild the database and you should do this each time you update the NVT's. This is done with a simple command:
root@shinobi:~# openvasmd --rebuild
6- Setup OpenVAS Administrator:
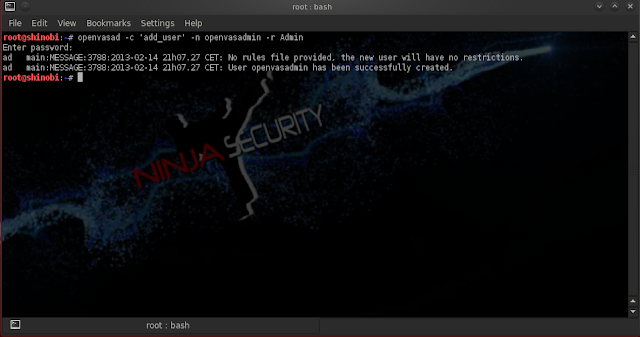
We need to create an administrative user that we will be using to perform all of our vulnerability assesments. This is done by running the following command:
root@shinobi:~# openvasad -c 'add_user' -n openvasadmin -r Admin
Note that you can replace "openvasadmin" by any other username of your choice.
This also runs as a daemon in the background. As I am running everything from my local machine I will be using localhost to listen on and in this case the default port . This is done by running the following command.
root@shinobi:~#openvasad -a 127.0.0.1 -p 9393
Starting Greenbone Security Assistant:
Now we need to start Greenbone security Assistant
This again runs as a daemon in the background. As I am running everything from my local machine I will be using localhost to listen on and in this case the default port. This is done by running the following command.
root@shinobi:~# gsad --http-only --listen=127.0.0.1 -p 9392
At this point your installation is essentially complete, but as we have got this far we may as well continue to make sure everything is working as expected.
We need now to start an application to enable you to communicate with the scanner and other daemons.
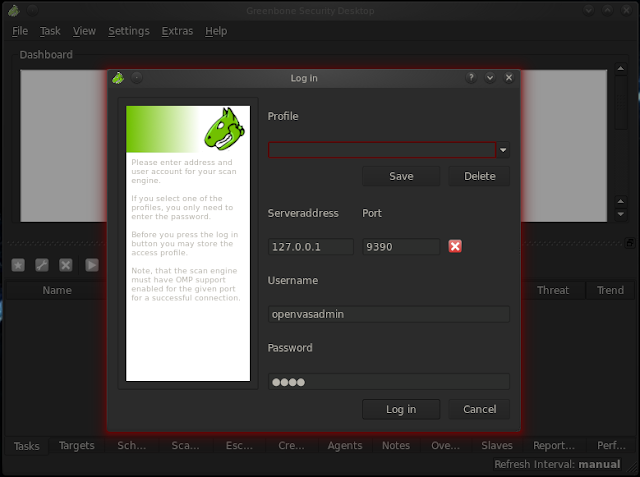
The first of these choices is greenbone security desktop .
Start this from the menu item and fill in the credentials and details we created earlier, then click the login button.






0 comments: